
Stencils and the gel plate bring out the best in each other! In today’s lesson we’re exploring how using a fluid paint or a heavy body paint can impact your stenciled prints and combining stenciling with the Let it Ride technique.
Video password:gelprinting
Watch/Download on Vimeo. Need help downloading or with other technology issues? Check out the technical help page here.
All the stencils you’ll see me using in this workshop are from StencilGirl Products and they have given each of you a 10% discount which is on top of their every day discounts too. The details: One time use per customer, on stencils only, and it is valid through 9-30-17 Visit their website here. The coupon code is:printDUBE
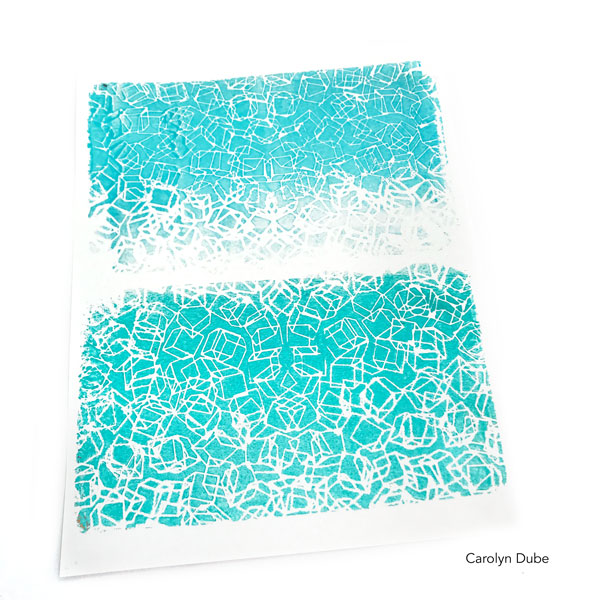
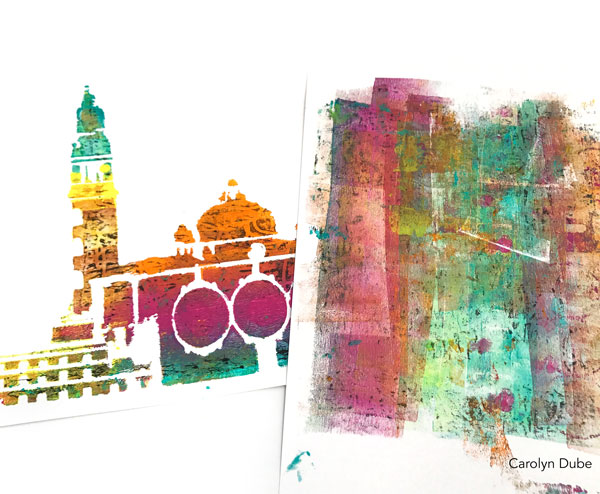
How do you get fine details with stencils? There are 2 ways…use a small amount of paint or use a heavy body paint. The gel plate will grip the stencil, so paint won’t instantly run under it like if you were stenciling directly onto paper. That makes getting details much easier. The top half of the teal cubes print is the fluid paint and the bottom half of the print is the heavy body paint. Which is the right way? By now you probably know it isn’t about right or wrong, but what look you like to create.
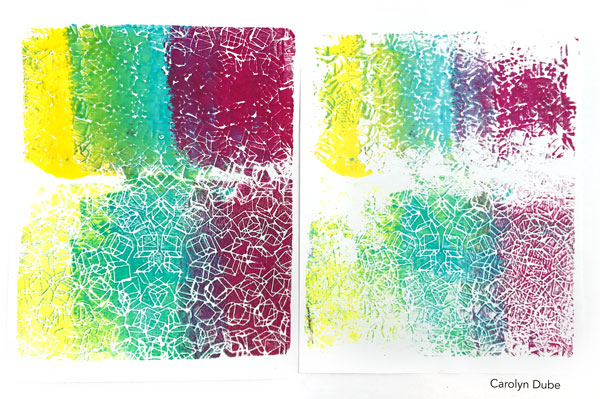
If you use a lot of fluid paint, it is tough for it to hold the fine details, as you can see in the top half of the rainbow cubes prints. Not good or bad it is just how to get specific results.
To clean off excess paint from the stencil, I will transfer the paint back to the gel plate and take more ghost prints or let it ride depending on my mood.
Stenciling – Technique 1
- put the stencil an a naked (paintless) gel plate
- apply paint
- remove stencil and take the print.
Stencil Technique 2:
- Add paint to the gel plate and brayer it
- Add the stencil on top of the paint.
- Take the print with the stencil still on the plate (you may have to use your finger tips to make sure you have good contact between the paint and the paper)
- Remove the stencil and take a ghost print of what is left on the plate or let it ride.
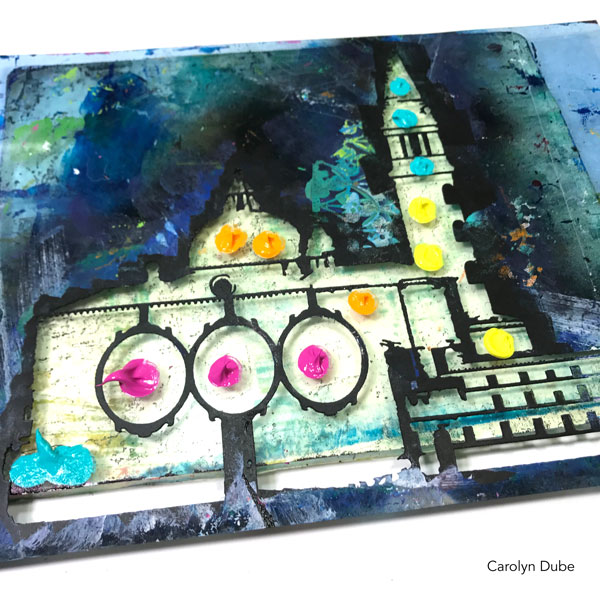
Any and all of the techniques in this workshop can be combined and used together. For this stenciling, there is some Let it Ride adding surprises to the final print.
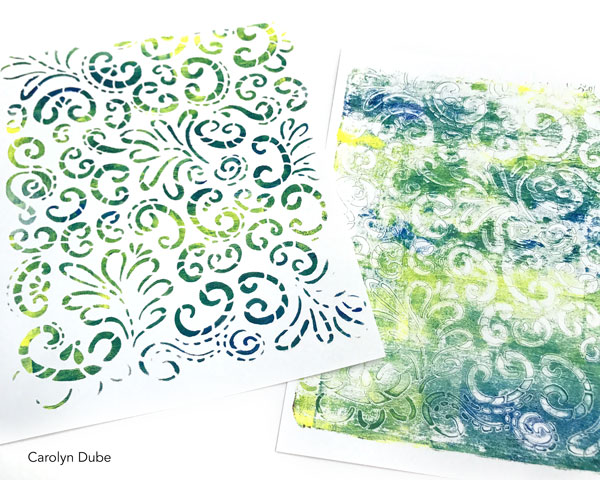
Mixing the colors of paint directly on the stencil allows me to see exactly where the colors will be going to be going on the final image. Since I know I tend to use lots of paint, I am using heavy body paints so that I can still capture the fine details of the stencil even if I use copious amounts.
- Start with a dirty plate with some let it ride paint on it.
- Place the stencil on the plate
- Add paint and brayer
- Remove the stencil
- Take the print
Now it’s your turn to play! Grab your plate, paint, and some stencils and experiment with putting the stencil on the plate first and with putting the paint on the plate first to see which way brings you the most joy!
I’ll be on the lookout in the Facebook group for your prints!
Supplies used in this lesson:
Liquitex Heavy Body: Medium Magenta, Cobalt Teal, Yellow Light Hansa, Cadmium Orange Hue, Phthalo Blue (Red Shade),
Golden heavy body Quinacridone Magenta
DecoArt Fluid acrylics: Hansa Yellow Light, Quinacridone Magenta, Cobalt Teal Hue
Paper:90lb paper, a light cardstock at Amazon.
8×10 gel plates: Gel Press Plates at Amazon Gel Press Plates at DickBlick
4″ brayer: at Amazon at DickBlick
You can find all the supplies in used in all the lesson here.