Video password:rainbow
Download the video here. Need help? Check out this page.
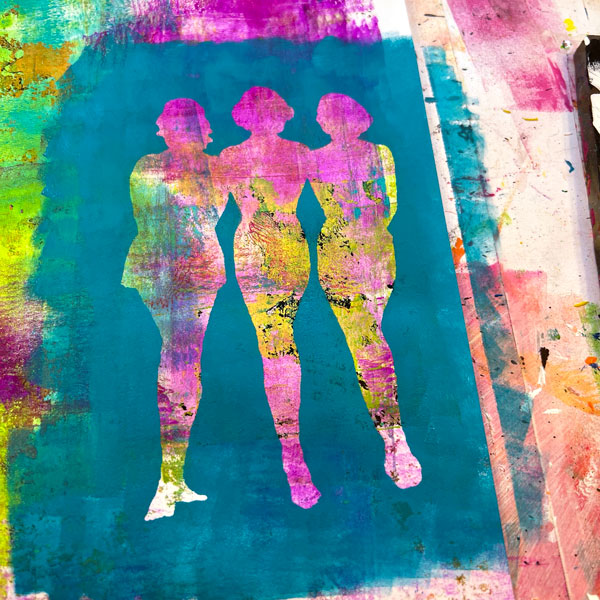
Move the stencil around your background until you find a spot you like. Once you’ve got that then use the two guidelines below to choose a color to put around the mask.
- A color that is inside your mask.
- It isn’t a color that’s along much of the edges of your shape/pattern that you are masking.
Once you know the color you want to use, then use the stencil to guide the placement of the mask. Remove the stencil and then start painting!
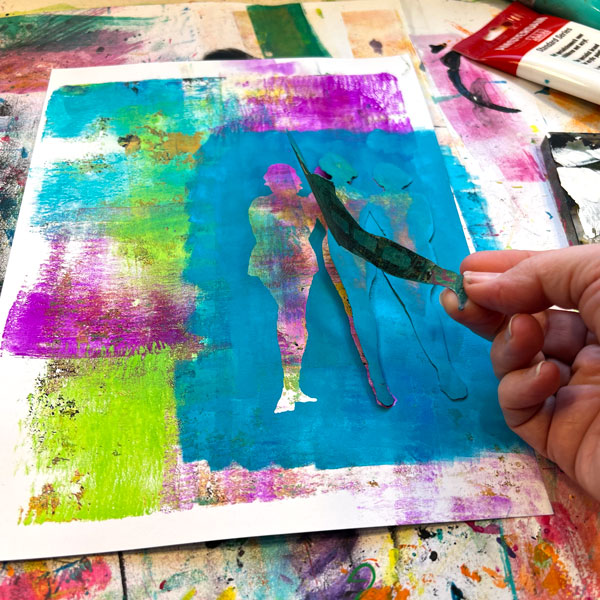
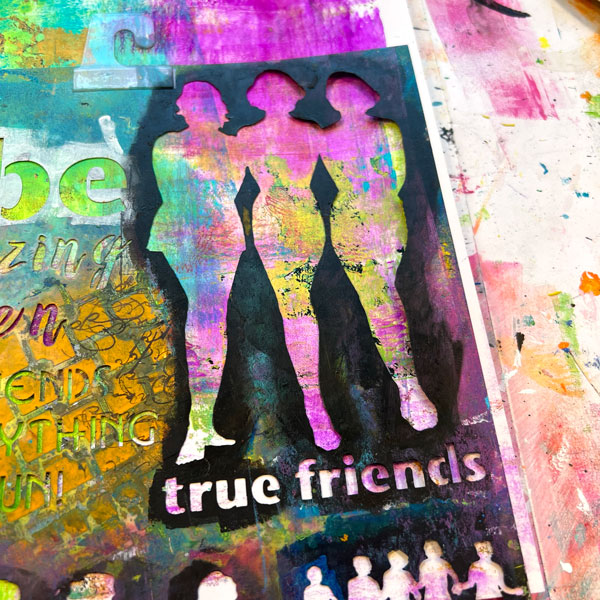
If you don’t want the background to peek up through the paint (blue in my case here) and you want crisp stenciling, use several thin layers of paint. I went over some areas 2-3 times with the cosmetic sponge to fully cover what was under it.
Now it’s your turn to play! Grab a mask and experiment with choosing a color to put around it that will make what’s inside of it pop.
I will see you in the next video where were are going to be taking paint off with a stencil!
While you’re creating, I hope you’ll grab your camera and take a picture because we would all love to see it! Share it with us all here in the comments below!
Supplies used in this lesson: I encourage you to substitute whatever you want whenever you want! A word about pricing- if a supply seems bizarrely expensive, substitute with another supply. I’ve found prices, especially on Amazon can really fluctuate. You can see the full workshop supply list here.