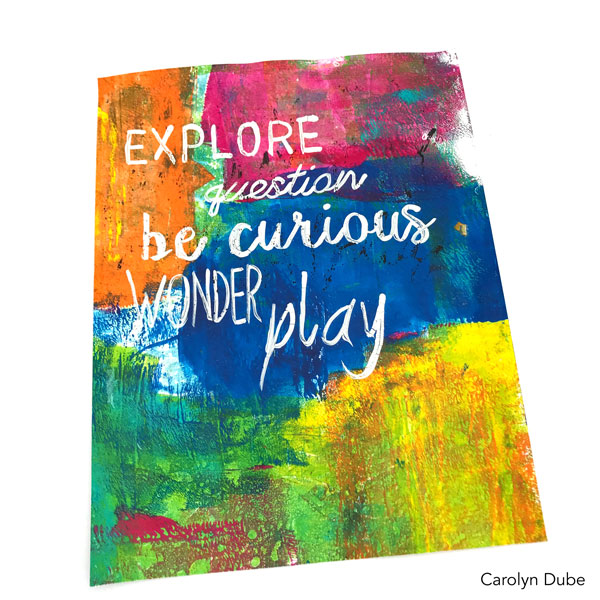
This technique came about because I am really not a fan of my own handwriting but I love to include words in my art and play. I also like to add words on top of existing prints and by using something other than white paint to take a let it ride type of print, I can do that!
Video password:gelprinting
Watch/Download on Vimeo. Need help downloading or with other technology issues? Check out the technical help page here.
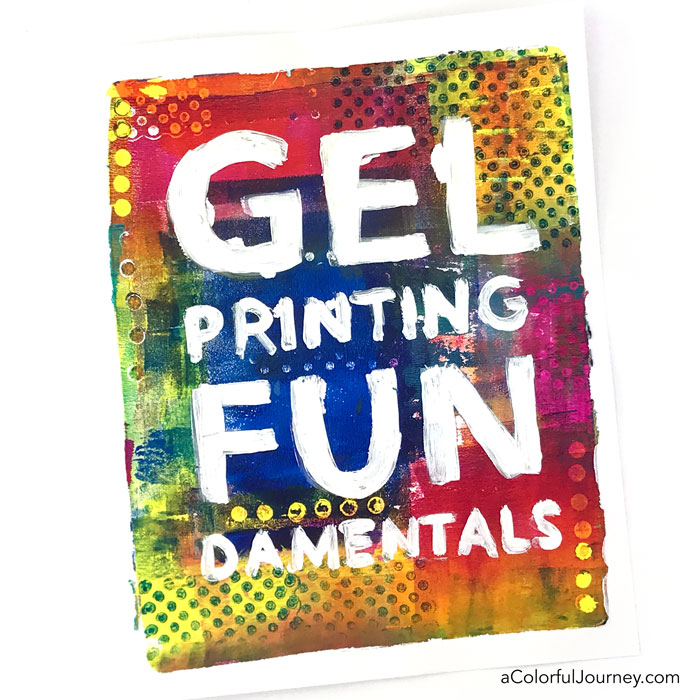
Bonus video for you where you see a variation of the technique above, but where I build the print on top of the painted words. You may have seen this print in the social media posts when registration opened for this workshop, and now you’ll see exactly how it was made!
Video password:gelprinting
Watch/Download on Vimeo. Need help downloading or with other technology issues? Check out the technical help page here.
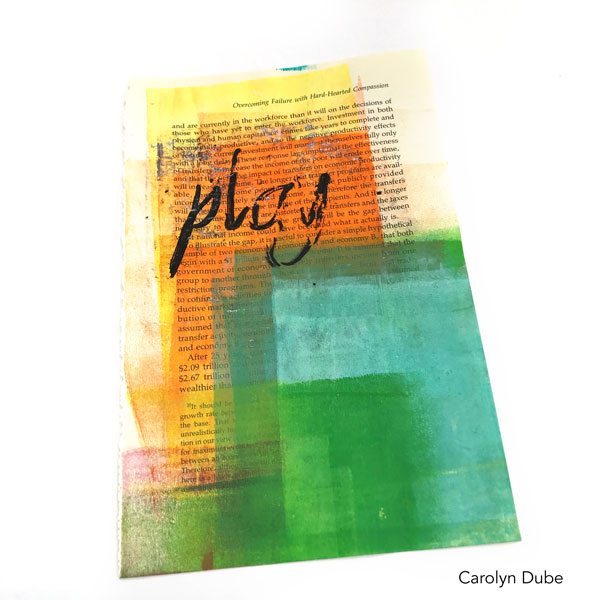
Painted Words
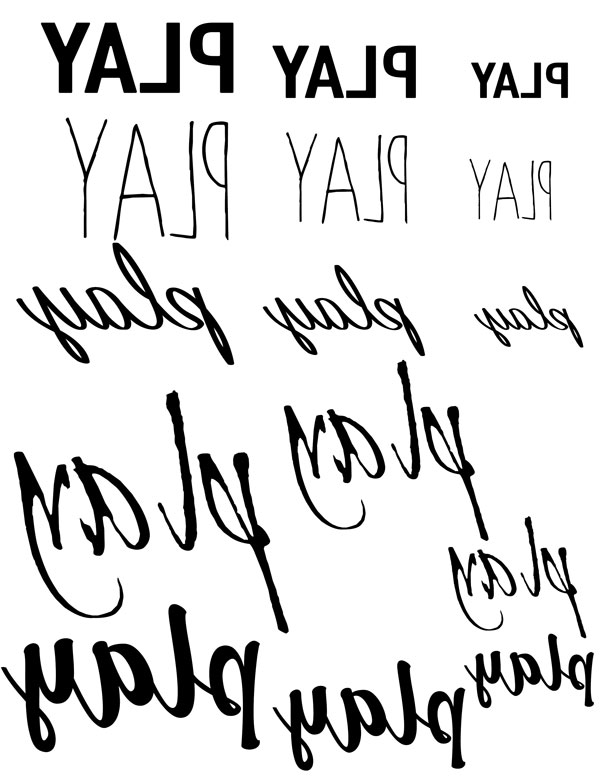
- Print out words, in reverse with your inkjet or laser printer. Some programs will let you flip words around or on printers there is sometimes a mirror or reverse option.
- Put the words under a gel plate to act as the guide for the next step. Remember the words need to be “backwards” or reversed.
- Use paint to paint over the words. (I suggest starting at the top of your words, so that you don’t drag your hand through the wet paint- and yes, I learned that the hard way)
- Let dry completely.
- Add a layer of gel medium and put an existing print on top of it. I use gel medium when I just want the words when placing it on an existing print. In the bonus video, you’ll see how I use this technique when I build the print on top of the words and use white paint)
- Let dry.
- Pull the print.
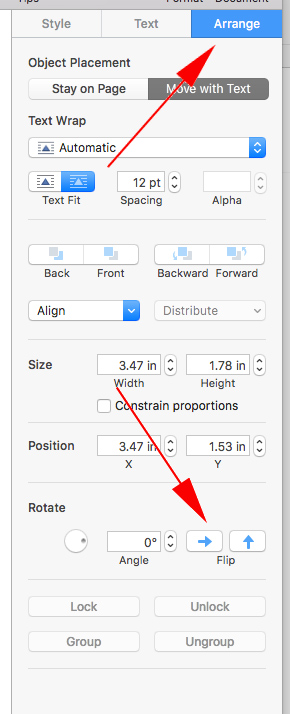
To download the flipped words here, right click on the image, then save as to save it to your computer. Every program is a bit different, but you can often find a mirror or flip option on prints or in word processing programs. I use a mac, so in Pages there is a way to flip it. I have a screen shot down at the very end of this lesson to show you where it is in there.
![]()
Now it’s your turn to play! Print out some backwards words, grab a paintbrush and get some text into a print with gel medium! Can’t wait to see your prints in the Facebook group!
Supplies used in this lesson:
8×10 gel plates: Gel Press Plates at Amazon Gel Press Plates at DickBlick
4″ brayer: at Amazon at DickBlick
DecoArt Fluid acrylics: Carbon Black, Titanium White
Really skinny paint brush ( I used a liner brush size zero or script brush size 1)
Mini blade (spatula like tool)
Gel Medium
You can find all the supplies in used in all the lesson here.
Here is where the flipping option is for text boxes in Pages for Mac. Where it is located in each program can be a bit of a scavenger hunt if you haven’t used it before so if you don’t know where this option is for you in your word processing program or print, Google to the rescue!