
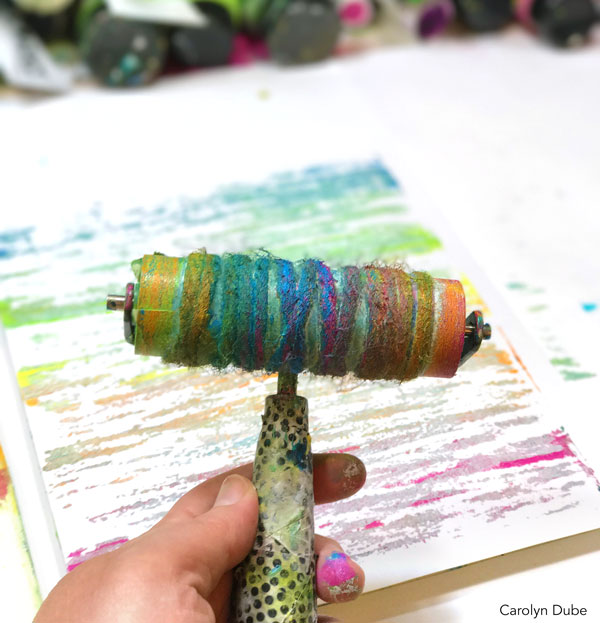
Roll with it…textures that is! We’re turning the smooth brayer into a temporary texture roller with yarn. By wrapping yarn or fiber around the brayer, it will create textures. The nice part is, the yarn is only temporarily attached to the brayer! What if you used something different than yarn? I’ve got a super quick bonus video showing what embroidery floss looks like!
Making prints is a numbers game to me. The more prints you make, the more likely you are going to make prints you love. Some of the prints I made, I swooned over. Some were blah to me. If a print ever feels blah, it simply means it needs more layers added to it. And you bet in a later lesson I’ll be sharing how I do that.
Video password:gelprinting
Watch/Download on Vimeo. Need help downloading or with other technology issues? Check out the technical help page here.
Video password:gelprinting
Watch/Download on Vimeo. Need help downloading or with other technology issues? Check out the technical help page here.
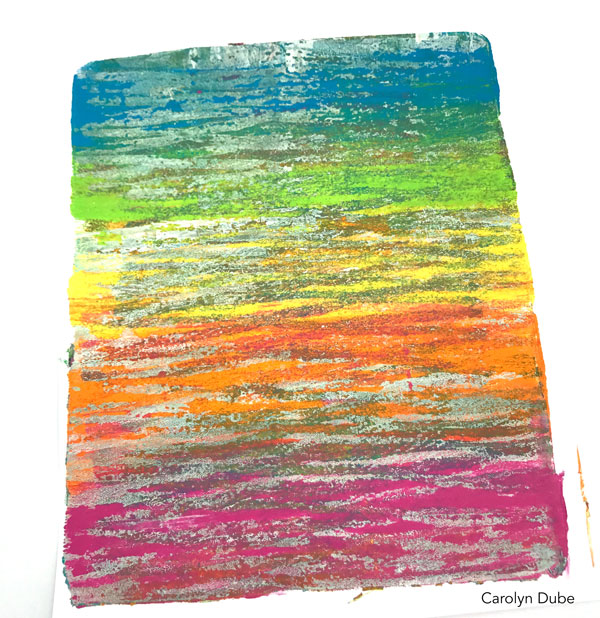
I started out with BFF colors so that there was no worrying about making mud. No matter what colors are used, every time you roll the brayer of yarn on the plate you are changing the color on the yarn & you are making a mark on the plate. All of that influences your final print.
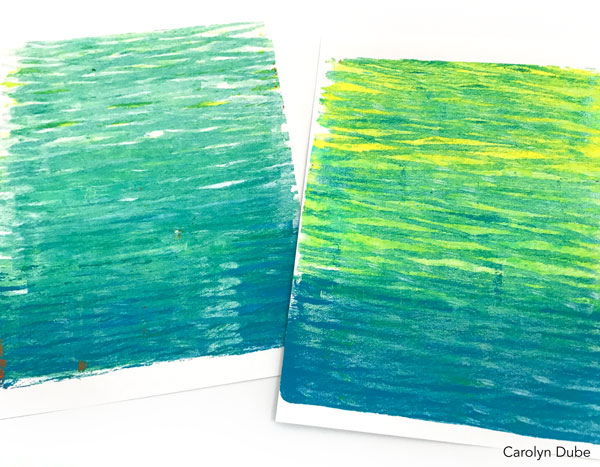
Once I brought in the entire rainbow, I was living on the edge. The edge of mud that is. As the colors darkened up, it was a warning sign of the mud factor. Just a little of Frenemy colors will darken them, but lots will go to mud.
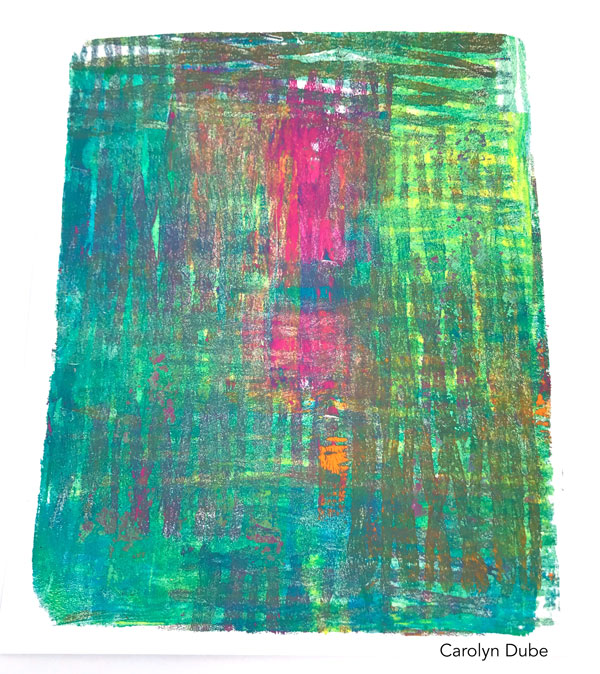
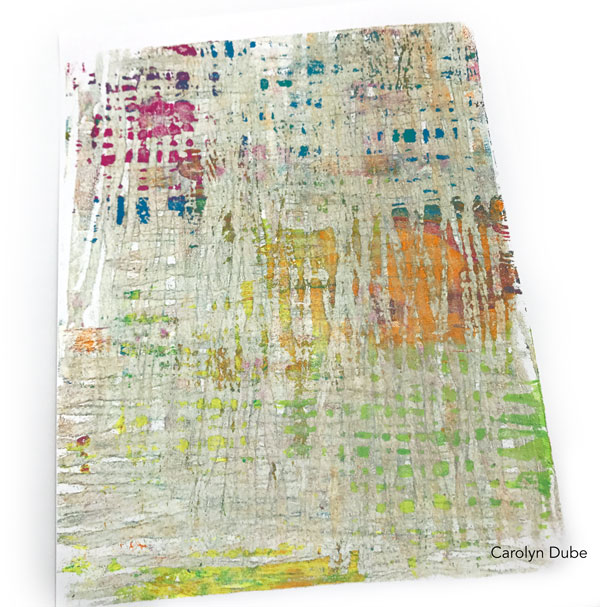
When things get too dark for me, I add a lighter color. In this case it was white. The white paint immediately went a dirty color on the yarn brayer, after all it was pretty muddy before the white. Now as much as I avoid mud, in this case it brought me such joy. The textures with the color left on the plate from other pulls made magic to me. Every print made before this one played a part in this print.
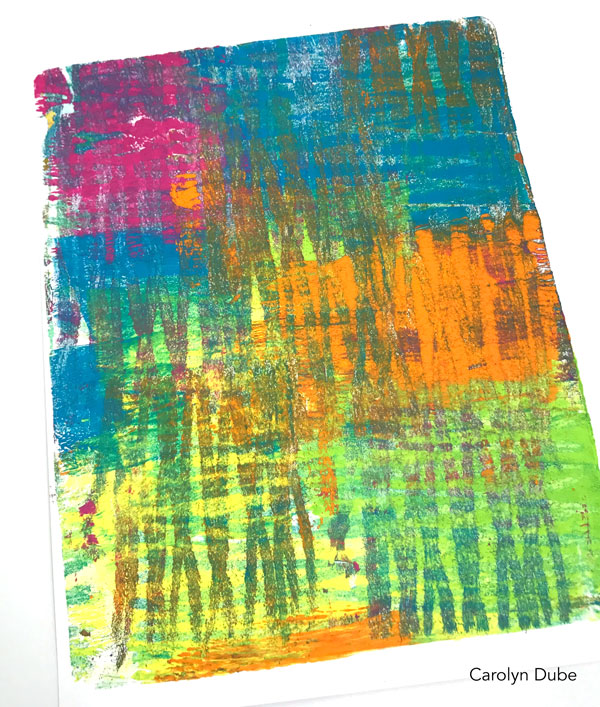
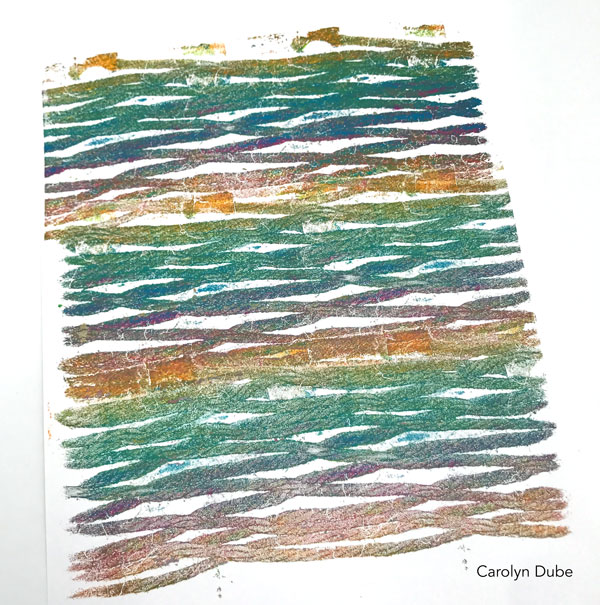
This time, the rainbow was in stripes with the grungy gray yarn going on top. What paint is in the yarn impacts the print. This process is very similar to what I did earlier in the video when I used the rainbow, except this time the yarn was the grungy gray (and I did stripes only) but the prints look very different.
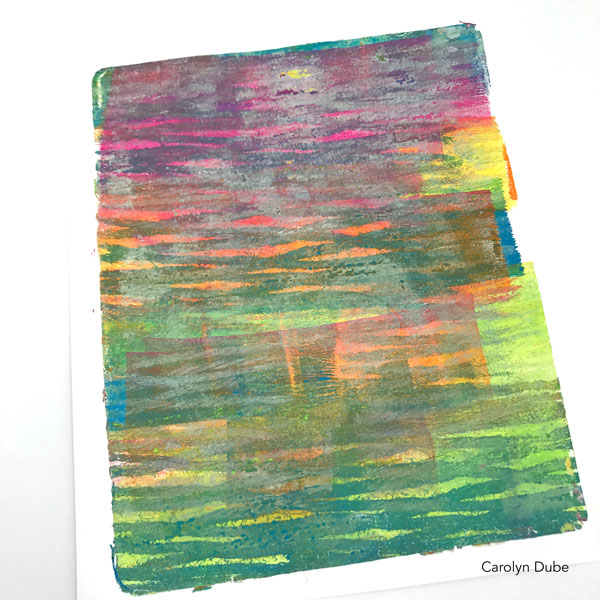
I started out with bright colors and ended up with jewel tones. How? That’s the darkening that came from small amounts of Frenemies mixing around.
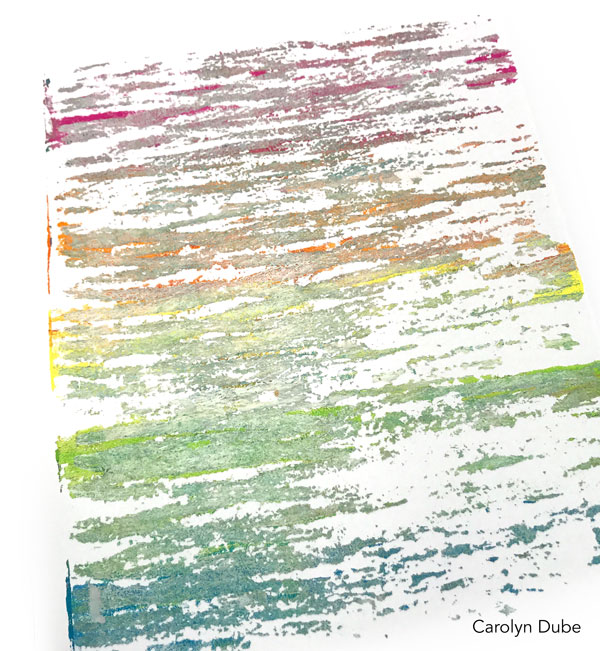
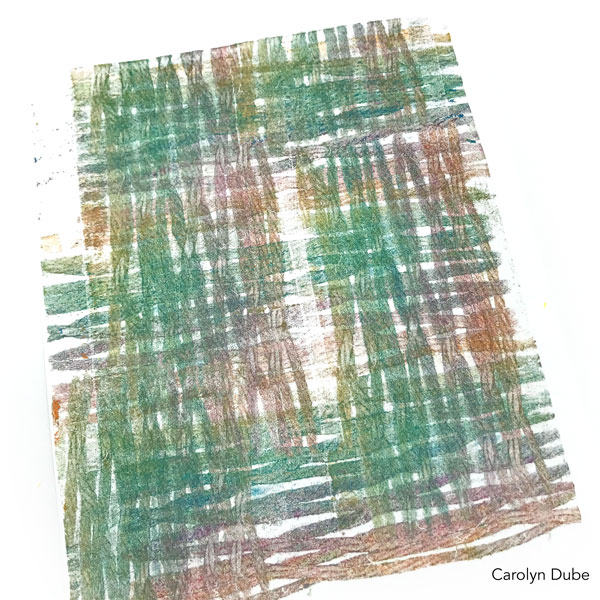
The last print was ho hum to me. Each person is different, and what one person thinks blah about another may love. BUT if I feel a print is ho hum right now, all it means is that it needs more layers.
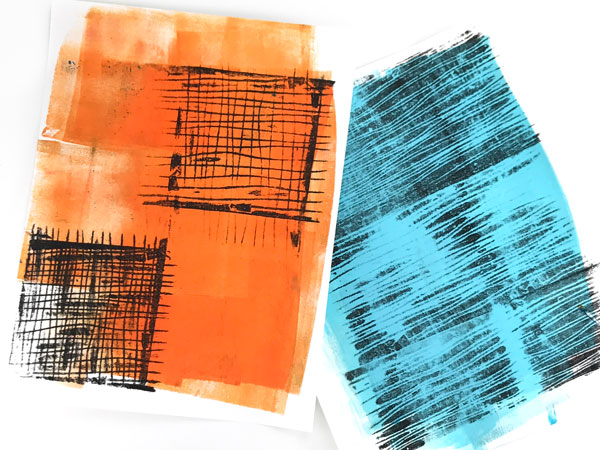
Here’s what the embroidery floss on the brayer created – the trick with fiber this thin is to put very little pressure on the brayer when loading it up with paint if you want only the thread lines to transfer. The more pressure the more paint that will transfer.
Now it’s your turn to play! Grab some yarn or fiber and wrap it around a brayer, then start making prints! Start just using BFF colors and when you are comfortable, try the whole rainbow! If it starts to get dark, you can lighten it up with white.
Looking forward to seeing your prints in the Facebook group!
Supplies used in this lesson:
Tape (masking, artist tape, scotch tape, whatever tape you have!)
yarn or fiber (I used a thicker than “normal” yarn but since the wrapper was off it, I can’t tell you what kind it is…truly, any kind any brand of yarn will work with this technique)
Liquitex Heavy Body: Medium Magenta, Yellow Light Hansa, Vivid Lime Green, Brilliant Blue, Cadmium Orange Hue, Titanium White,
DecoArt Fluid acrylics: Cobalt Teal Hue,
Paper:90lb paper, a light cardstock at Amazon.
8×10 gel plates: Gel Press Plates at Amazon Gel Press Plates at DickBlick
4″ and 2″ brayer: at Amazon at DickBlick
You can find all the supplies in used in all the lesson here.