
Can you mix Frenemies and not get mud? Yes and no. When I am rubber stamping with the rainbow you would think it would very quickly go to mud, but it doesn’t. It almost looks like the Frenemies aren’t making mud. But I’m not really mixing the paint. Each time I place the stamp into the colors, I am placing color on top of color so that it creates layers with minimal mixing. That’s the trick to using the rainbow and not getting instant mud!
Video password:gelprinting
Watch/Download on Vimeo. Need help downloading or with other technology issues? Check out the technical help page here.
Video password:gelprinting
Watch/Download on Vimeo. Need help downloading or with other technology issues? Check out the technical help page here.
BE SURE TO HAVE YOUR WET PAPER TOWEL READY TO PUT THE STAMP ON BEFORE YOU START to make clean up a lot easier! Dried paint can be scrubbed off a stamp, but it is a lot more work. Yup, I know that from experience…
If your paint is very thick (like the old paint I was using in part 2) or you want your paint to stay workable or open longer, add a touch of glazing medium to it.
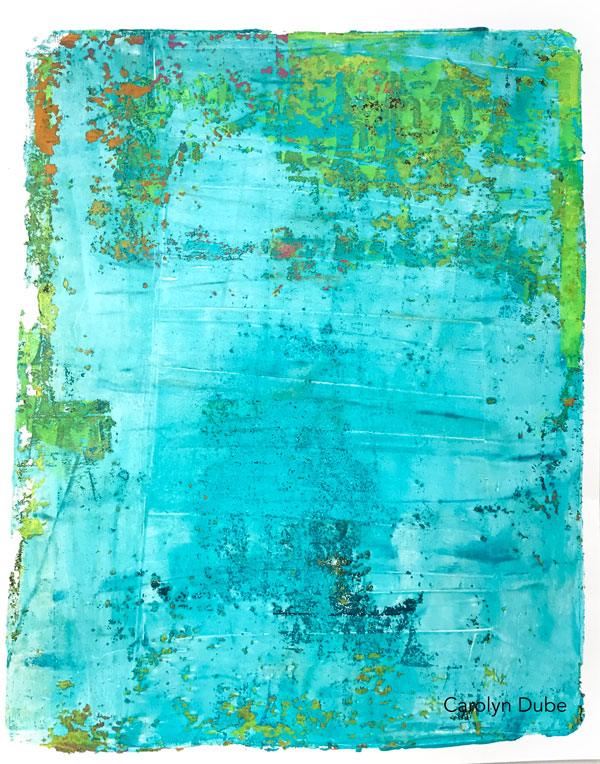
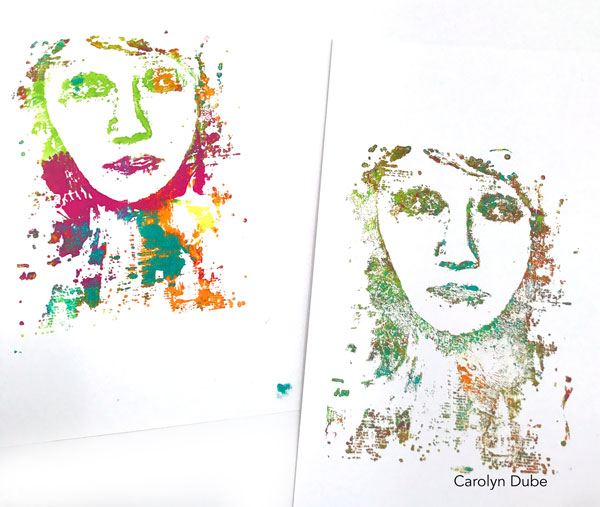
Here’s the first print with the last print using the large stamp. The first one has more “pure color” because I haven’t been mingling the paints together with the stamp yet. It also has more paint on it. The print on the right is the last impression, with far less paint as it was about out and the colors are darker due to the Frenemy factor.
Making prints this way is a great way to make multiples…think gift giving of card sets! Each similar but not identical, it has that handmade touch without a lot of thinking.

Every drop of paint gets used, even the almost dry paint on the plate after using the stamp. Here’s the brayer cleaning paper that I fell in love with too.
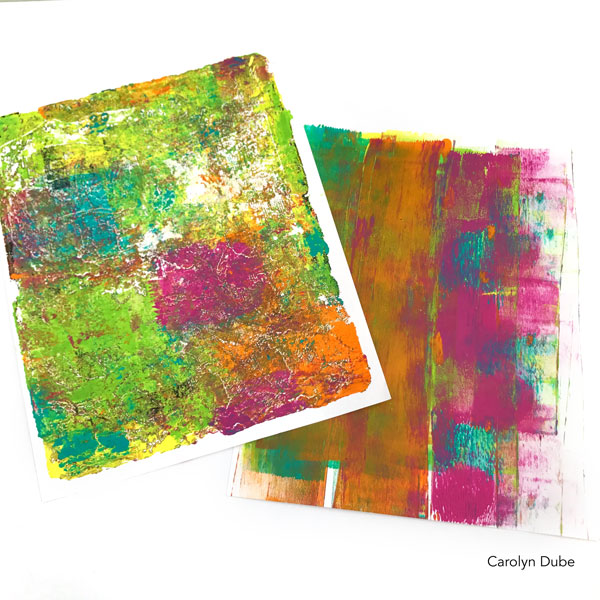
These are the prints I used with the glazing medium and the old paint that was super thick. Since I’ve started using paint with stamps on a gel plate, I tend to prefer it over traditional ink stamping just because the color is so much more vibrant than my aging ink pads.
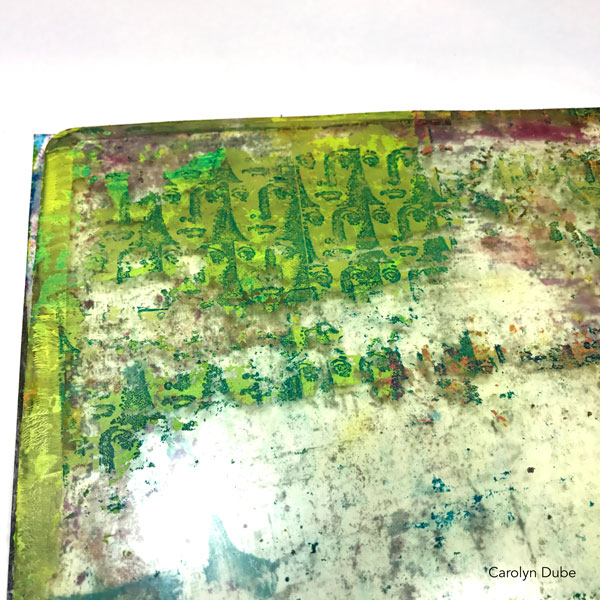
Here’s a close up of that let it ride texture used to make the last print in the video.
Now it’s your turn to play! Grab some stamps and load that plate up with paint! Remember to have the wet paper towels ready to put the painty stamps on before you start playing- it makes clean up so much nicer! You bet we all want to see your prints in theFacebook group!
Supplies used in this lesson:
Liquitex Heavy Body: Medium Magenta, Cobalt Teal, Yellow Light Hansa, Vivid Lime Green, Cadmium Orange Hue, Turquoise Deep
DecoArt Fluid acrylics: Cobalt Teal Hue
Wisnor & Newton professional acrylics Phthalo Turquoise
paper towels
tray of some sort to put the wet paper towels in
Tiled Monique Face from Invoke Arts
Starbursts from Hero Arts
Glazing Liquid
8×10 gel plates: Gel Press Plates at Amazon Gel Press Plates at DickBlick
4″ brayer: at Amazon at DickBlick
You can find all the supplies in used in all the lesson here.