Stencil and paint can create areas of texture, the kind you just feel drawn to touch!
Video password:rainbow
Download the video here. Need help? Check out this page.
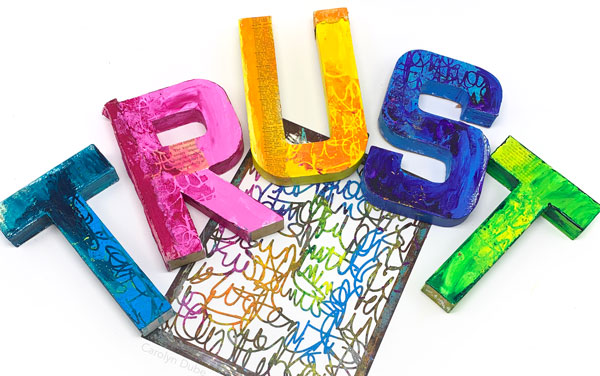
In the last two videos, I stenciled onto white paper. Here, I’m adding a colorful layer before stenciling. There are 2-3 colors on each letter and having just subtle smears adds enough color that the eye feels it all belongs there.
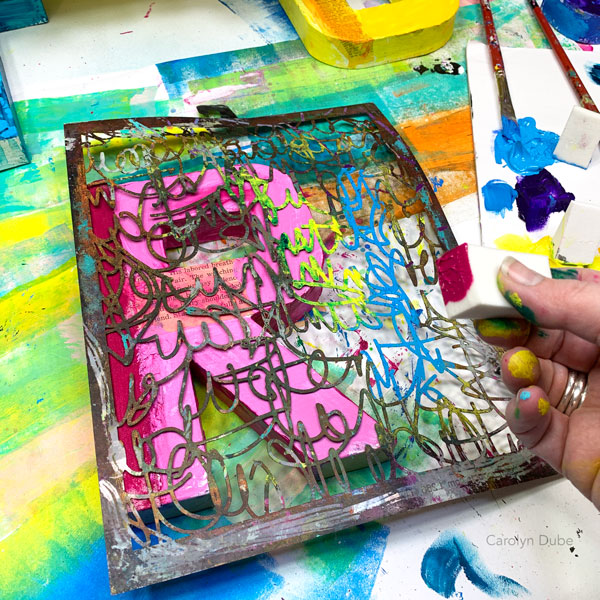
In order to get somewhat clear stenciling when using this much paint, it needs to be a thicker paint. That thickness is what creates the texture.
I moved the stencil around to get to a part without any wet paint on it to prevent color contamination as I went from color to color.
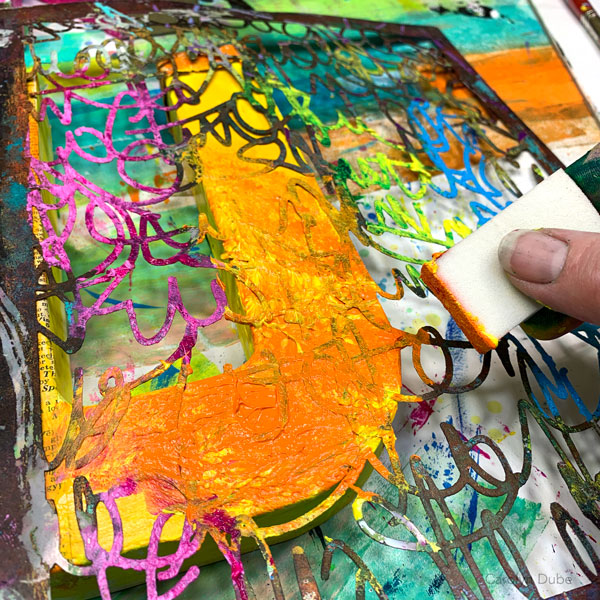
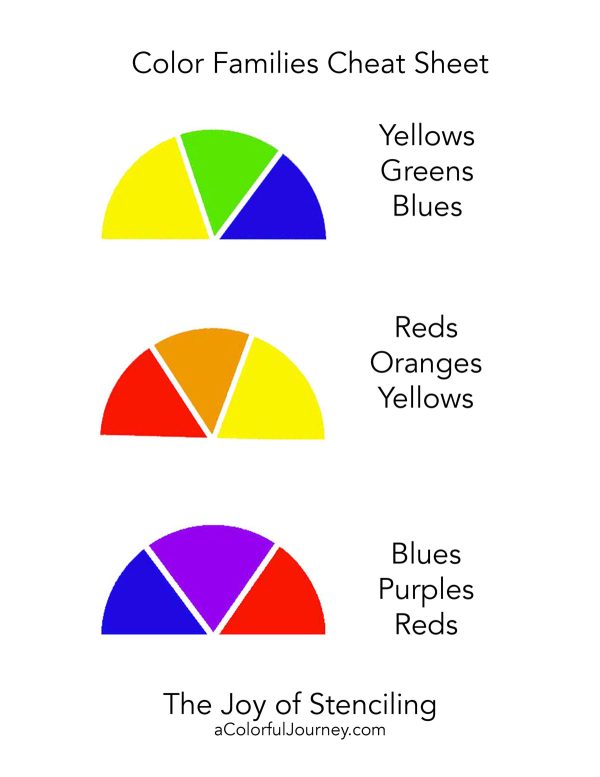
The more paint you use on the stencil, the more texture you’ll create. Using multiple colors on the sponge creates color blending. To keep the colors from getting muddy, I stayed in color families. Need help remembering the color families? I’ve got you! There is a cheat sheet below for you to print out.
To print out the Color Families Cheat Sheet, just right click on the image and choose save as. Then pick where on your computer you want to save it. Then you’ll have it and be able to print it out any time you want!
Now it’s your turn to play! Grab a stencil and create some texture! I will see you in the next video where we’re taking one technique and doing it two ways using very different supplies.
While you’re creating, I hope you’ll grab your camera and take a picture because we would all love to see it! Share it with us all here in the comments below!
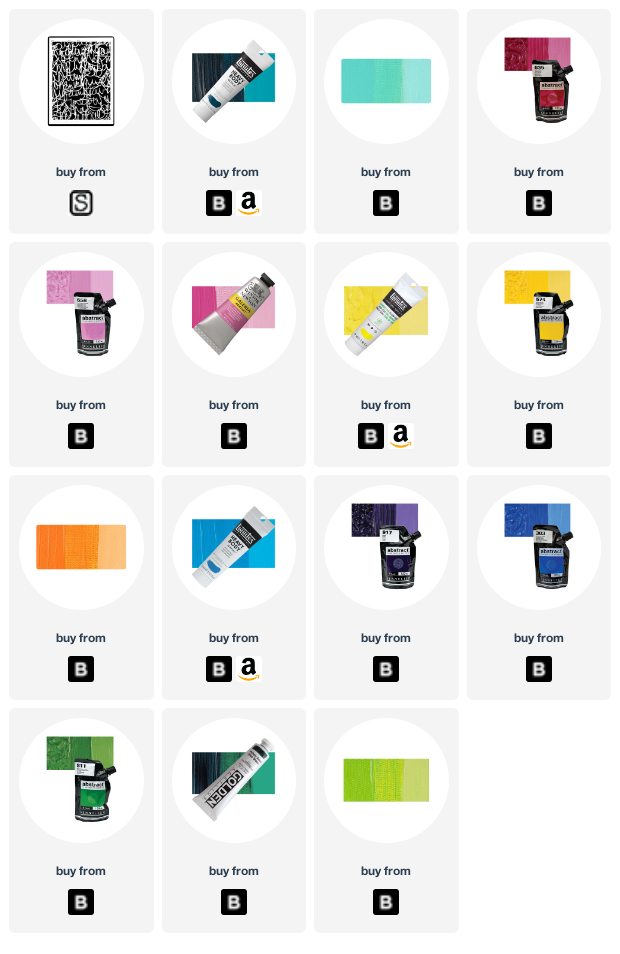
Supplies used in this lesson: I encourage you to substitute whatever you want whenever you want! A word about pricing- if a supply seems bizarrely expensive, substitute with another supply. I’ve found prices, especially on Amazon can really fluctuate. You can see the full workshop supply list here.
What about the cardboard letters? You can find those at craft and hobby stores in a wide variety of sizes!
Thank you for including a color family digital download. That’s a handy little tool. I like the colors of what I made, but not the structure. I used acrylic paint on the stencils, but watercolor as the base.
Glad it was helpful Hedda! Those colors are scrumptious together but what I love the most is that you’re noticing what you like and don’t like! Knowing that will guide and steer you in the direction that is most meaningful to you!
Loving the posts folks!
Here’s my 3-D project – can’t believe I’m being so adventurous. I’m using the Friend colours and LOADS of juicy paint. When this is dry, I’m going to grab another stencil and add another layer – thank you Carolyn, I’m have a lovely time!
How exciting! Adventurous fun and on top of that, a fabulous lamp! Love it!
This was a great technique – thank you!. I used colors inspired by an art print and love the result. This is a puzzle box I’m using to store stamps and such before swatching and storing them. I put gesso on the box first and it wasn’t completely dry, so when I added the colorful paint and removed the stencil, bits and pieces of paint lifted up and I needed to sponge some more over them. I also let the box top dry and re-stenciled a couple of parts for more definition of the design.
I have two questions, Carolyn. What product do you recommend for sealing the box top? And, do you wash or rinse your sponge applicators when done so you can re-use them?
Beautiful box you’ve made Reen! When you are sealing something the big question is do you want a gloss or matte finish? Most products can be gloss or matte. The fastest is a spray sealer and gives the thinest finish, like a Krylon, but it is smelly and needs to be done outdoors. If you want to brush on a sealer, then I go for a gel medium or a fliud matte medium (that one is not available in gloss). But these aren’t the only options. Lots of brands have sealers, so next time you’re at an arts and crafts store you should have lots of options.
As for cleaning the sponges, I feel it uses up more resources (lots of water) so I don’t clean them, I cut the bottoms off, and then use them again. This way I get a whole lot of play sessions out of one single cosmetic sponge. I actaully save the dried ends and use them to make things. Here’s an example https://acolorfuljourney.com/anything-can-become-art/
Hope that helps!
Thanks for the suggestions, Carolyn. Looking at a close up of the box cover, it looks like I need a couple of touch-ups, and then it’ll be gel medium. I think that would be better for a sealer than a thin spray, since the paint is thick.
I watched the sponge video and am amazed at your creativity!
I have not had such luck stenciling and I have used heavy ink Application p, it’s the up and down motion applying the ink that has made the different. Hearing you explain it Carolyn is making such a difference to me.
Hi all – greetings from Scotland!
Lovely ideas here, Carolyn! The letters look – and I’m sure feel – great. I have a couple of handy sized boxes from products I bought recently and was thinking I’d decorate them and use as gift / storage boxes. Was planning decoupage but now changed my mind. Pictures to follow…🤗
I ended up using my Golden acrylics because they’re so thick like heavy body paints which I don’t have and WOW! what gorgeous texture. The photo doesn’t really capture it, but there are actual peaks on the paint as if I were whipping cream. There goes another tool in my toolbox!
I can see hints of the wonderful texture in your photo, you are right these types of things are tough to photograph!
Carolyn, thanks so much for teaching why certain things come out the way they do. In the past, I’ve made things I loved but I didn’t understand how I got the image I did, or how to replicate it. Your explanations are giving me the answers I’ve been looking for!
Here is my take on this lesson: I LOVE the texture!
Love your texture Patricia! This is exactly why I wanted to create this workshop, that by understanding why and how together, you have more freedom to create the looks you want- and that just makes it all the more fun!
Moving the stencil around to avoid wet areas is an art in itself! I tend to get color contamination, but I’m too lazy to clean the stencil in between colors!
I like this workshop because Carolyn explains how we can get the looks we want!
Thanks Amy! It just makes it so much more fun to play with your art supplies when you understand why they do what they do and I’m all about having more fun in our days!
I like that stencil where did you get it? Thanks