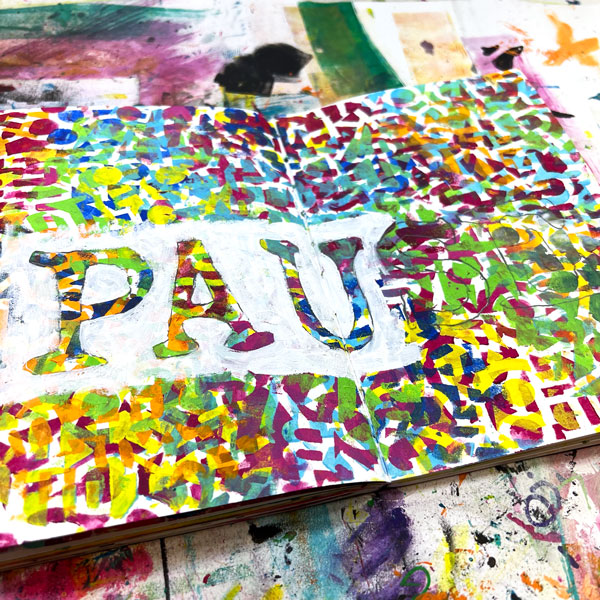
What can you do with busy stenciling? Add something big and bold to balance out the busy/detailed look. One of my favorite ways to do it with is with letters.
Along the way, you’ll see the no measuring way to center a word and why I never think it’s a wasted layer when most of it gets covered up.
Video password:rainbow
Download the video here. Need help? Check out this page.

- Use some cheat sheet stenciling to position your word.
- To center it, find the middle of the word and place that at the center of the page. If you’ve got an odd number of letters, like I did, the middle letter goes directly in the center. If you’ve got an even number of letters, place half the letters on one side of the middle line and half on the other side.
- Use the cheat sheet to position the stencil on top of a letter and trace with a pencil.
- Repeat for all the letters.
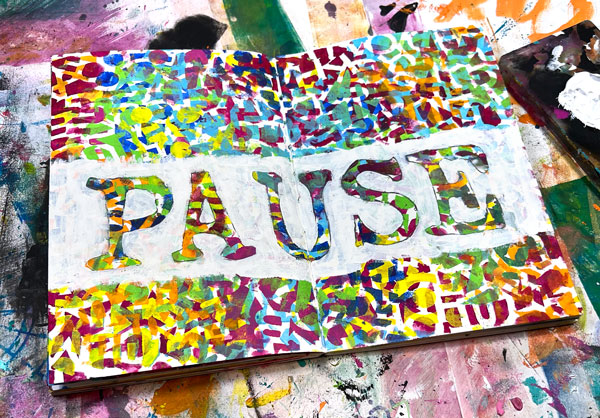
- Then paint around the letters.
You have the freedom to cover all or part of the background!
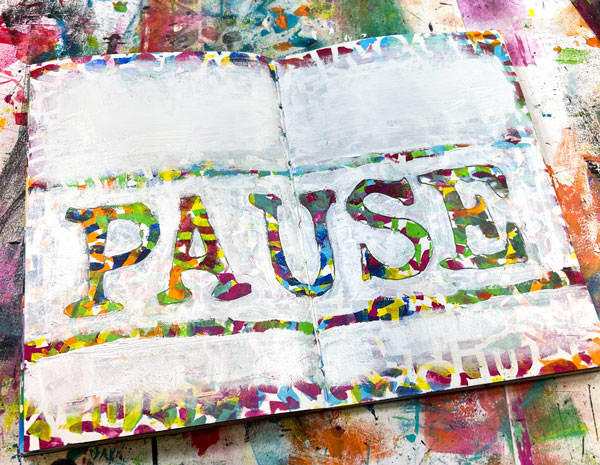
With so much of that colorful background painted over with white, was it wasted? Not at all! That layer is peeking through the entire page. More at the edges and less where it’s painted white, but it is still somewhat visible. This gives the page continuity that wouldn’t be there if the colorful layer was simply below the word pause only.
Now it’s your turn to play! Grab some busy stenciling and try adding something big and bold to it! I will see you in the next video where we’re using masks!
While you’re playing, snap a picture and share it with us in the comments because you’ll inspire fellow classmates! Yes, you really will!
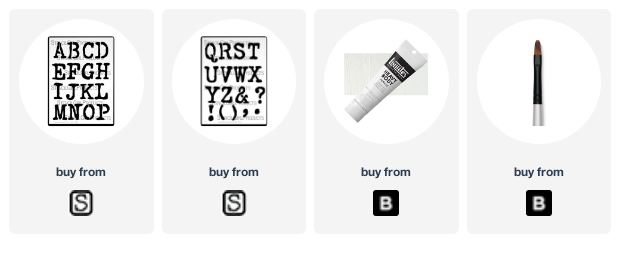
Supplies used in this lesson: I encourage you to substitute whatever you want whenever you want! A word about pricing- if a supply seems bizarrely expensive, substitute with another supply. I’ve found prices, especially on Amazon can really fluctuate. You can see the full workshop supply list here.
I loved the second lesson so much that I made several backgrounds with different stencils and colors. This background screamed that it wanted me to use the boots stencil and use this lesson’s technique to highlight them by painting around them. I stenciled the word on top using the word placement clear sheet technique learned in another lesson.
This is so much fun combining ideas from several lessons here!
Those boots are made for playing! Love them Reen!
I have had this set of letters for years and never really used them because I didn’t make a copy of them on clear plastic. Now I will be used them more.
Awesome page Anna! It makes it a whole lot easier to position stencils when you’ve got a cheat sheet!
My journal page size and stencil letter size limited me to a four letter word choice. And, because I didn’t loads of stencil layers the numbers from the stencil were easily recognizable, therefore, limiting my word choices even more. So I learned to be more thoughtful about intentions – what do I want to do with this? But I love the activity and will definitely use it in my journal! Another tool for my toolbox. 🙂
What a great word to go with those numbers Sabrina! That’s the fun of this, you have the option to make things recognizable or not! If you’d like to see what it looks like with more layers, you can always stencil more numbers above and below your area of white paint. Just use a piece of paper as a mask to protect the COST and white paint and then stencil more numbers.
Love the party of color going on inside the letters! I was hesitant to paint white over that background of colors I came to like, but I like the outcome even better. I tried different types of white acrylic to better understand the differences in opacity (boy, were they different!) Thanks for challenging us to try techniques that may seem unintuitive but produce something more pleasing as a result.
Different white paints can give different results! And now that you’ve tried several different white paints, you know which of your paints will give you the solid cover look and which will give you the light coverage. That means you have options when you’re playing- to fully cover or create a white wash type look where a lot of the background shows through the paint.