Wide open spaces in a stencil design are opportunities to add something colorful inside! In this lesson, you’ll see the technique done twice, one with markers and and one with paint. Using different supplies with the same technique will create very different looks!
Video password:rainbow
Download the video here. Need help? Check out this page.
Video password:rainbow
Download the video here. Need help? Check out this page.
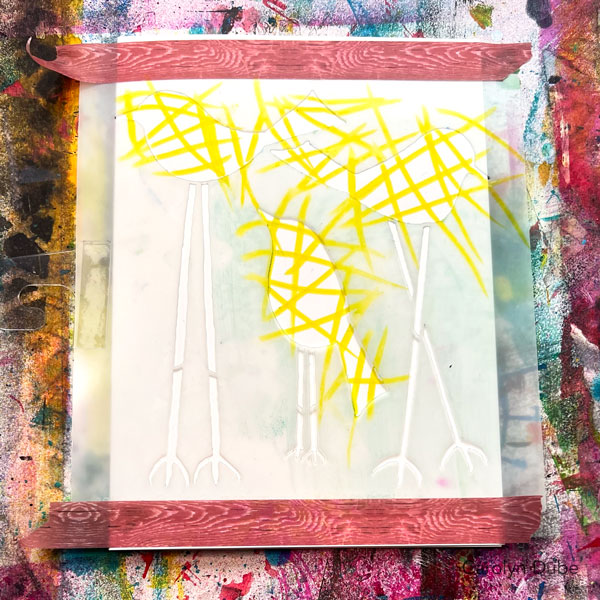
I started with the lightest color first, so that the yellow marker stayed bright and yellow. The markers can pick up color that is on the stencil but if that happens, all you do is draw with it on scrap paper to clean it off.
This is also why I stayed with a color family to be sure I wouldn’t get mud if any of the colors did mix. Need a color family refresher? It’s in the Touchable Texture lesson.
One of the advantages of taping a stencil in place is that you can lift it up to peek and see how it’s looking.
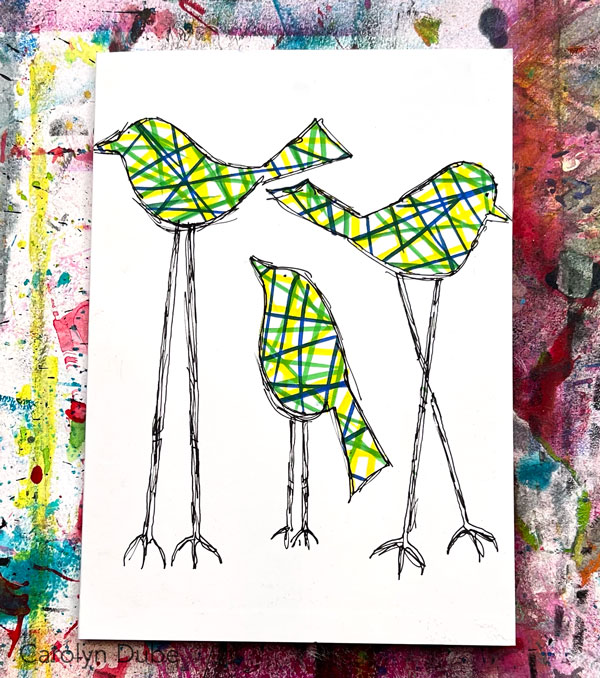
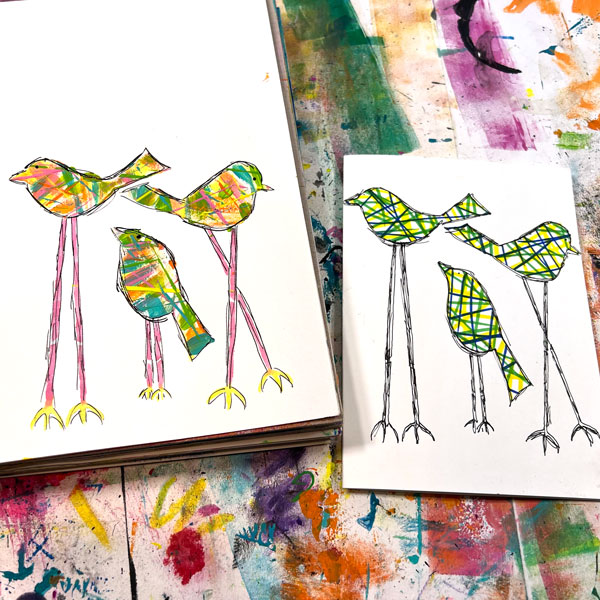
To create a sketchy outline of the birds, first I traced the stencil and then went over it without the stencil.
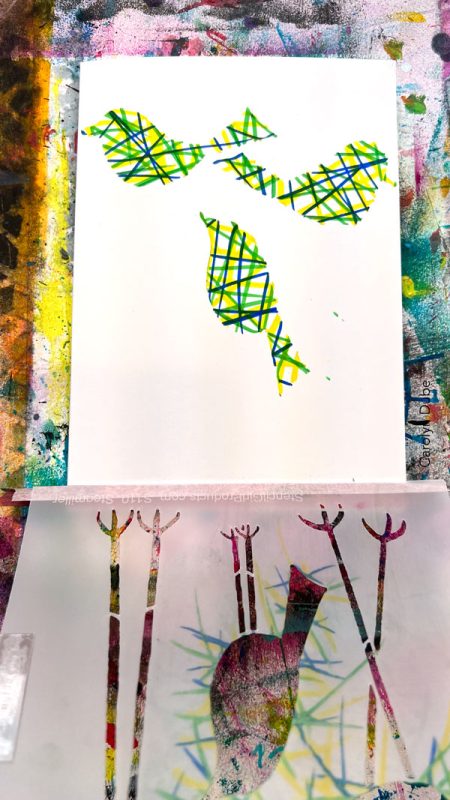
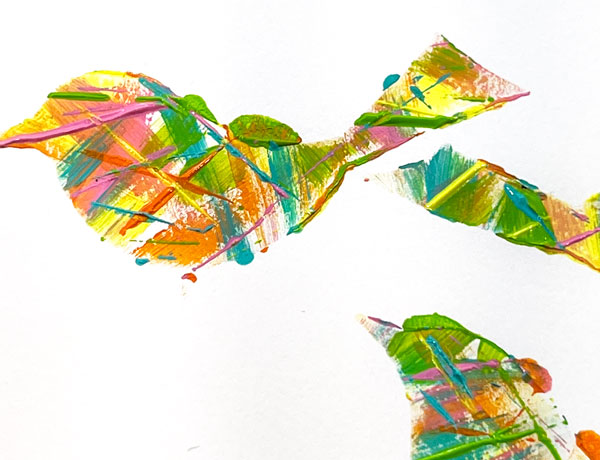
The same technique can be done with other supplies in your stash! Here I’m using paint to do it as a start to an art journal page. This first layer was done using paint brushes.
The second layer creates lines of texture using an old hotel key card or used gift card dipped in paint.
Outlining
If working on plain paper, I can safely use any pen or marker. If there is paint on there, I get more selective about which pens to use because fine tipped felt pens/markers often get ruined even if the paint is fully dry.
I used two pens – the Uniball for a finer line and the Fude for the wider/darker line. These pens have held up extremely well to a mixed media lifestyle. Another pen that has also held up well is a fountain pen – it wasn’t used in this lesson but I have it and the other two pens linked below in the supplies for you.
Now it’s your turn to play! Look through your stencils and find one with an open space, then use markers or paint or any other art supply you have to create lines of color in it!
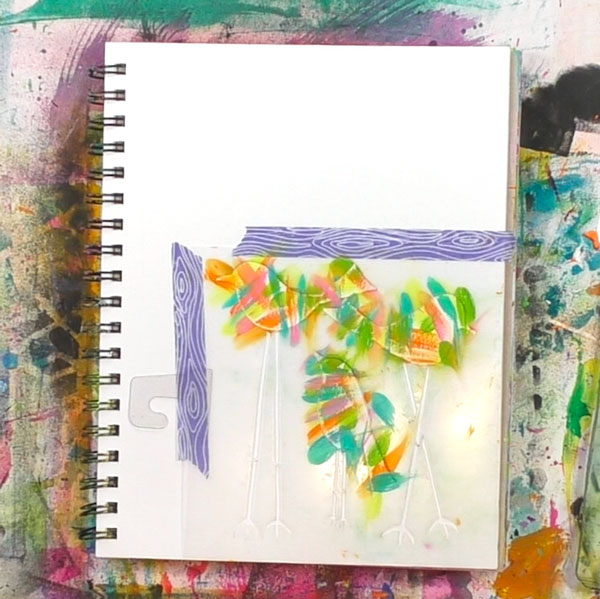
I will see you in the next video where I’m sharing some short cuts for placing words as I add another layer to this art journal page.
While you’re creating, I hope you’ll grab your camera and take a picture because we would all love to see it! Share it with us all here in the comments below!
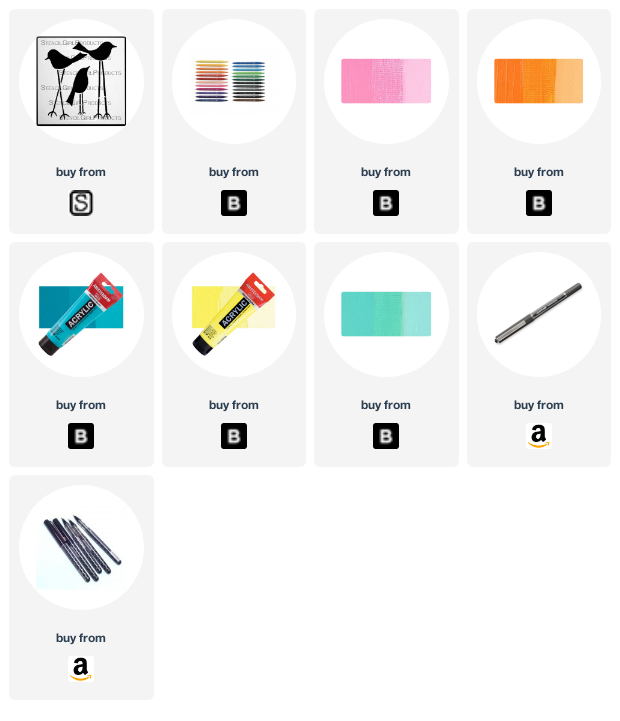
Supplies used in this lesson: I encourage you to substitute whatever you want whenever you want! A word about pricing- if a supply seems bizarrely expensive, substitute with another supply. I’ve found prices, especially on Amazon can really fluctuate. You can see the full workshop supply list here.
This class was more fun than expected and challenging, too, keeping the colors from mixing and trying to figure out when to stop adding lines. The first butterfly I thought I wanted little white space, but by the time I got to my fourth butterfly, I wanted a lot of white space!
My birthday card stash was getting low, so I thought I’d use the butterflies for new ones. I had to cut out the butterfly with the pink mat because I messed up the antennae drawing them, and it turned out just fine.
Your kaleidoscope of butterflies is beautiful! Love that you’re noticing what you like (the white space)! And practical because now you’ve got stunning cards to send Reen!
Can you use Ponsca Pens to outline after painting. Also I really appreciate you posting the supplies you use, however, is it possible to name the product, especially the items from Amazon. I am in Canada and need to know the name of the item in order to buy it. If it is too difficult I understand. Really enjoying the work shop, the best value for $29.00. C
You absolutely can use Posca pens to outline them Cheryl! As for the product names, unfortunately, there are ridiculous complexities to doing that on the product links. I wish it could be simple to do! One work around is to go to the link, see the specifics of the supply (brand, color name, size, etc) and then look for it in the Canadian sites. Hope that helps!
Well this took some time and like you I’m not much for watching paint dry. Almost gave up but stuck with it and got some good texture out of it in the end. Not sure how often I may use this but with the right stencils I could have lots of fun. I think the bird stencil my be my next purchase
I love that you’re willing to give it go Anna even when it’s tough – I hate waiting for paint to dry too! It definitely looks like you got some great texture in that!
I enjoyed this so much! I loved your demonstration using the credit card/hotel key card etc. and I decided to use that technique fully on my stencil. I am so delighted with the results. Another tool in my toolbox. 🙂 You’re the best Carolyn!
What texture you’ve got in that glorious heart Sabrina!